The Beginner Pull-Up Guide: How To Do A Pull-Up
It doesn’t matter if you want to accomplish your very first pull-up, or if you want to hit a new personal record for chin-ups, you are in the right place. In this article, I’m going to explain the correct technique and tell you how to build the required strength to accomplish this impressive calisthenics feat. By the end of this article, you will know how to do a pull-up and you will have a game plan to apply so you can use it as a regular part of your training.
Have you tried the assisted pull-up machine at the gym with no results? Or maybe you’ve worked your way up to band-assisted pull-ups but just keep hitting a plateau? That’s all about to change when you apply the techniques and strategies from this blog.
I’ve helped hundreds of people get their first pull-up and they all have gone through this process using these techniques. Everything in this blog about how to do a pull-up is tested and proven. And what could arguably be the best advice for how to do a pull-up is in the last section of this article so make sure to read the entire thing. I’m excited about this so let’s get to it!
Benefits of Pull-Ups
Builds upper-body strength
Builds grip strength
Improves athletic performance
Improves overall health
Strength
To do a pull-up or chin-up you have to pull your entire body weight from a dead hang position to a chin above bar position. You are literally moving 100% of your weight up and against gravity, using just your upper body! That is extremely difficult. It not only requires strength from all of the muscles responsible for pulling but also grip strength to hold on to the bar and core strength to keep your body stable.
The good thing is that no matter who you are if you are disciplined enough you will be able to do this with no problem. All you have to do is progressively build up your strength which is pretty simple, but it takes time. There are three different aspects of strength that you have to conquer to do a pull-up or chin-up. You have to be able to dead-hang from the bar, you have to be able to hold your entire body weight with your chin above the bar, and your muscles have to be trained in the correct movement pattern through a full range of motion.
The Dead Hang
The dead hang is also known as the start position of the pull-up. You are gripping the bar with your arms straight and core engaged. If you can’t do this, then there’s no way you’ll be able to do a full pull-up. So it’s really important that you reinforce that dead hang strength. It is going to strengthen your grip as well as your supporting pull muscles that are responsible for the initial movements of the exercise.
*Aim for the end goal of 30 to 60-second holds.
The Isometric Hold
An isometric hold is when you hold yourself in one position of an exercise for a certain amount of time. In this case, we are looking to hold ourselves with our chin above the bar and the appropriate muscles engaged. Those muscles are the lats, traps, rhomboids, biceps, and more.
My favorite and highly recommended way to train this exercise is to start in this position. A lot of times people will try jumping up into the top position but that makes it hard to engage the correct muscles. Instead, stand on a tall box that already sets you up with your chin above the bar. Then, grip the bar, engage your pull muscles, and step into the position.
*Aim for the end goal of 30 to 60-second holds.
Full Range of Motion
For this portion of the training, I use two different exercises, the inverted row, and negatives.
Inverted Row: Since a pull-up is pulling 100% of your weight up against gravity with your arms over your head, we need to find a way to pull less of your body weight until your muscles get used to it. In the same way that if you were using a weight machine and 80 pounds was too hard, you would lower the weight. If moving 100% of your body weight is too hard, you move 50% of your bodyweight instead. When that gets easy, you move 70% of your body weight. And so on and so on. My favorite way to approach this in regards to being able to do a pull-up or chin-up is by focusing on the inverted row. The reason this exercise is so beneficial is because it uses the same muscles required for a pull-up, but you are pulling less of your body weight. Plus, your arms are in front of you instead of overhead which is easier.
L1 - 50% of body weight
L2 - 60% of body weight
L3 - 75% of body weight
Negatives: This is where you begin to train the overhead range of motion and the exact movement pattern of the exercise. A negative is also known as an eccentric or the lowering phase of an exercise. In the push-up, the negative is when you go from the plank position and lower down into the bent arm position. In a pull-up or chin-up, the negative is when you go from the bent arm, chin above the bar position, to the straight arm position dead-hang position. Training the negatives is a great way to build strength because it’s building strength by resisting gravity in a way that makes pulling up even easier when the time comes. When you do your negatives you do not want to just drop to the ground, you want to resist and fight against gravity by using your muscles to slow yourself down.
Programming
It’s not enough to know what exercises to do. If you really want to be able to do a pull-up then you have to make sure you apply these exercises the right way and you have to do it consistently. And I don’t want you to waste your time with these exercises so here’s how you use them to build strength to be able to do a pull-up or increase your max reps.
When it comes to getting stronger at something, you have to make sure the exercise is stressing your body to a point where your muscular system says, “what we have now is not adequate to continue doing the current level, so it has to grow and adapt. That means you have to be struggling to finish your set. You shouldn’t sacrifice form but you should be pushing close to failure on each set. Take note that I said close to failure, not to failure.
Let’s use the inverted row for example. I gave you 3 levels of difficulty. Say you choose level 1 and you can perform 15 reps with good form, and it’s not until reps 12 and 13 that it got challenging. In that case, you aren’t stressing the body enough to get as strong as you could be getting. To build strength you want to target 10 reps and they should get difficult around 7 or 8. That’s going to put more strain on the muscular system and in turn, that system is going to develop and get stronger. Now let’s say you chose level 3 but you can only do 2 reps with good form. In that case, you chose a variation that is too difficult so you are going to want to scale back to a variation that allows you to perform 10 reps.
Assisted Pull-Up Machine
I’ll use this same theory as above to explain why people don’t have success building strength for pull-ups using the assisted pull-up machine. It’s not because the machine is inadequate at building strength, it’s because the machine is used wrong. Not wrong as in the technique is wrong, but wrong in the sense of improper programming. Most of the time I see people using the assisted pull-up machine to learn how to do pull-ups, they are using so much assistance that they are able to crank out 20 or more pull-ups. We have this mindset of aiming for a high amount of reps is going to make us stronger but that’s not necessarily the case. Now don’t get me wrong, if you choose a lot of assistance and end up doing 20 reps your first time, and then 22 reps next week, yes you are getting stronger. But that strength isn’t going to translate to anything else other than being able to do more assisted pull-ups. The second you try to do an unassisted pull-up you are going to fail and that’s because a heavily assisted pull-up does not translate to an unassisted pull-up.
If you want a more in-depth breakdown of how many reps and sets to do to build strength then you should check out my blog titled “How To Build Strength When Working Out.” That will teach you everything you need to know about how to build strength with any exercise, including the chin-up or pull-up.
Technique
The difference between the pull-up and the chin-up is the hand position, but the technique stays the same.
How to do a pull-up:
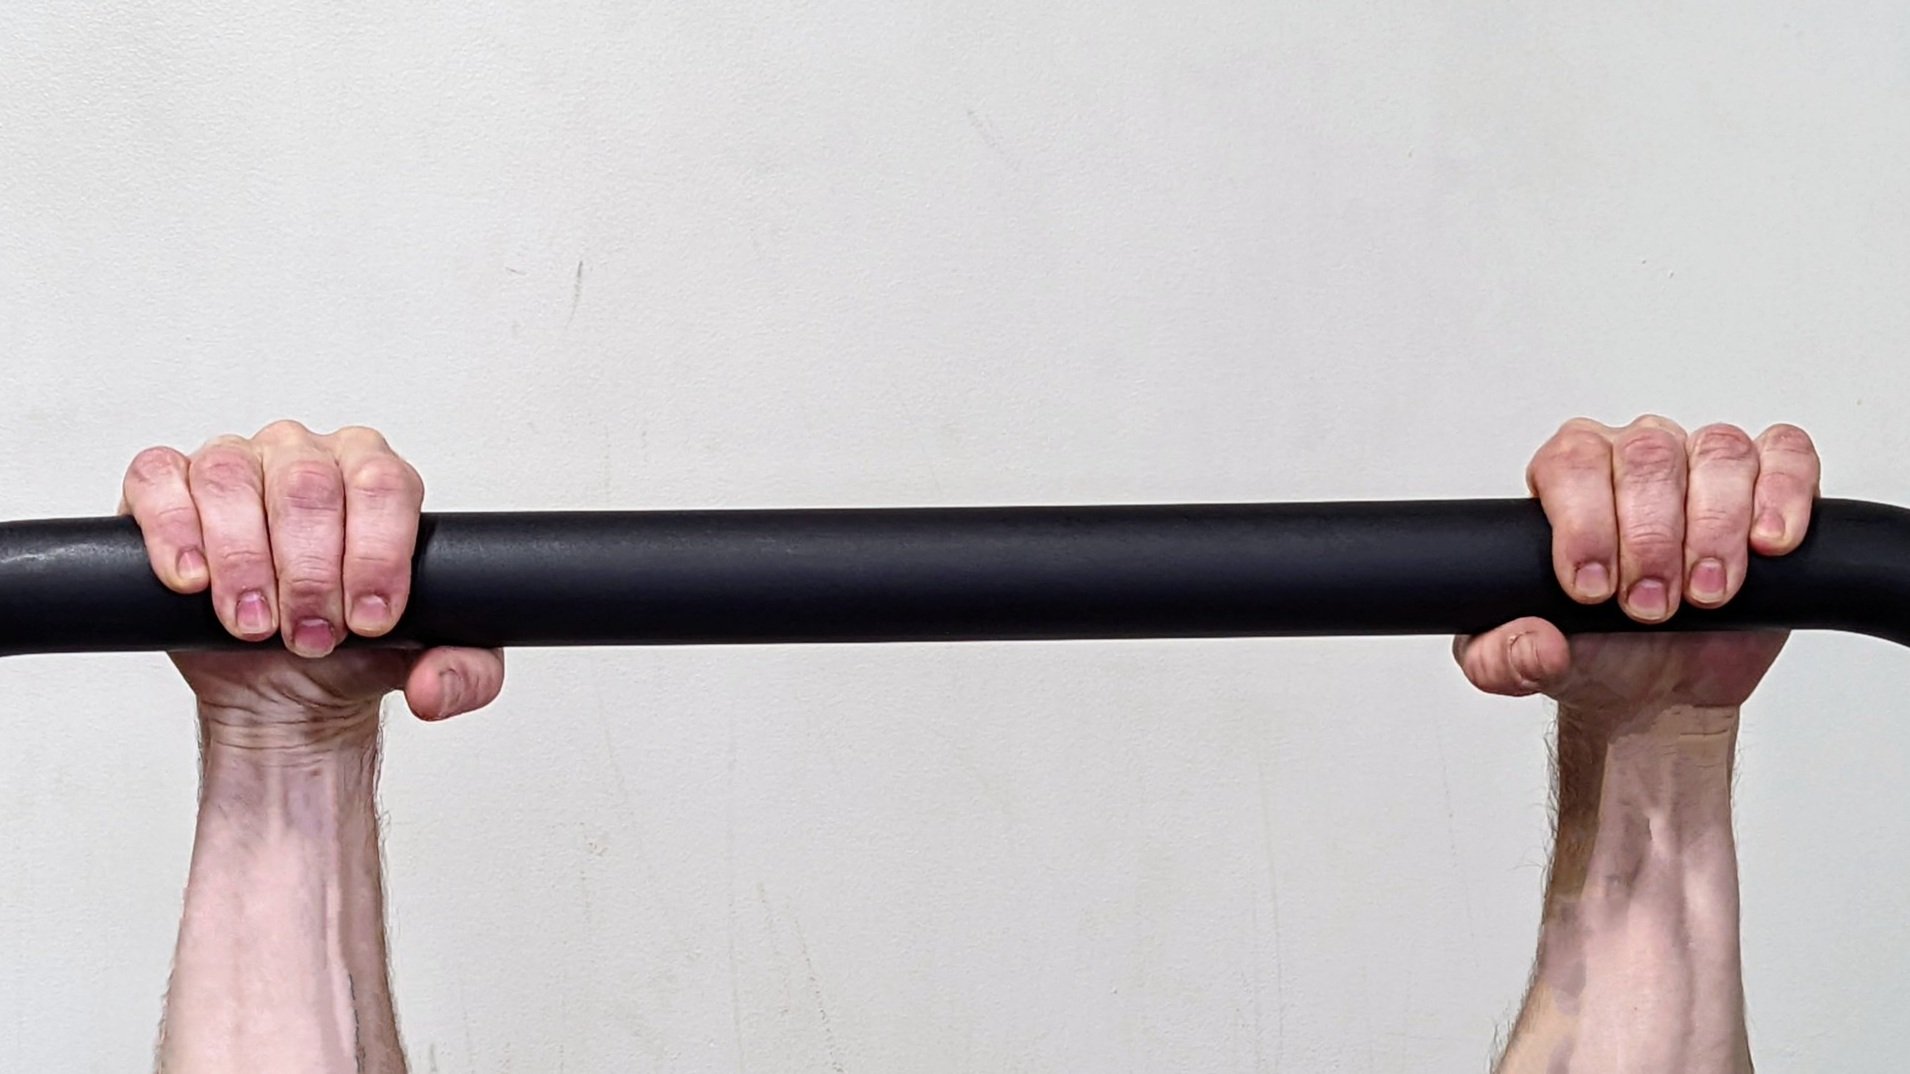
Grip the bar with an overhand grip. Make sure your first row of knuckles is on the top of the bar, not your fingers. Your hands are a couple of inches wider than your shoulders.
Hang from the bar in an active dead-hang position.
To initiate the movement you want to drive your elbows towards the floor and that will start to bring your chest towards the bar.
When your chin gets above the bar you can take a slight pause before lowering back down to your active hang position.
Make sure YOU control your lowering down. Don’t let gravity pull you down!
How to do a chin-up:
Grip the bar with an underhand grip. Make sure your first row of knuckles is on the top of the bar, not your fingers. Your hands are a couple of inches wider than your shoulders.
Hang from the bar in an active dead-hang position.
To initiate the movement you want to drive your elbows towards the floor and that will start to bring your chest towards the bar.
When your chin gets above the bar you can take a slight pause before lowering back down to your active hang position.
Make sure YOU control your lowering down. Don’t let gravity pull you down!

The best piece of advice you can get in regards to the pull-up technique is to drive your elbows towards the floor. This is an action that will trigger proper muscle engagement to help you get the most out of the exercise while reducing the risk of injury. Usually, when people are training pull-ups or chin-ups they have a tendency to shrug their shoulders as they move through their range of motion which brings the shoulders closer to the ears. This will take the movement out of your scapulas and have you relying too much on your biceps. So if you feel pull-ups in your biceps then this tip is for you especially. To fix this you want to keep your scapula depressed. Start your pull-up by pulling your shoulders away from your ears and driving your elbows to the floor.
Wrapping Up
There you have it, the ultimate guide to learning how to do a pull-up. This is all of the information I wish I knew when I was in your position. I have used the assisted pull-up machine with no results and I’ve done pull-ups that I only felt in my biceps. But after 10+ years in the fitness industry, I have learned the right and wrong ways to do things. You can learn from my mistakes and get results even faster than I did while reducing your risk of injury. Anyone can do a pull-up or chin-up if you are disciplined and train correctly.
You can make a lot of progress with the tips from this blog but if you are motivated and serious about improving your pull-up game then you should check out my eBook How To Master The Pull-Up & Chin-up. It is an 8-week workout program designed specifically to increase your pull-up strength. This is the same strategy that I use to help all of my students get their first pull-up or improve the number of reps they can do. It’s on sale for 20% for a limited time only, don’t miss out!
If you have any questions or need any help with your fitness journey you can contact me directly via email. I reply to all emails within 24-48 hours and I’d love to help you out. Patrick@mimathletics.com is my personal email, reach out any time.
And if you want to grab 50 free metabolic bodyweight workouts then don’t forget to subscribe to my newsletter by filling out the form below. If you want to unsubscribe after you get the newsletter that’s fine with me but if you decide to stick around I promise it will be worth it. I’ll only send emails that will help you improve your health and fitness life. Thank you for taking the time to read this article.
Much Love,
PLD